


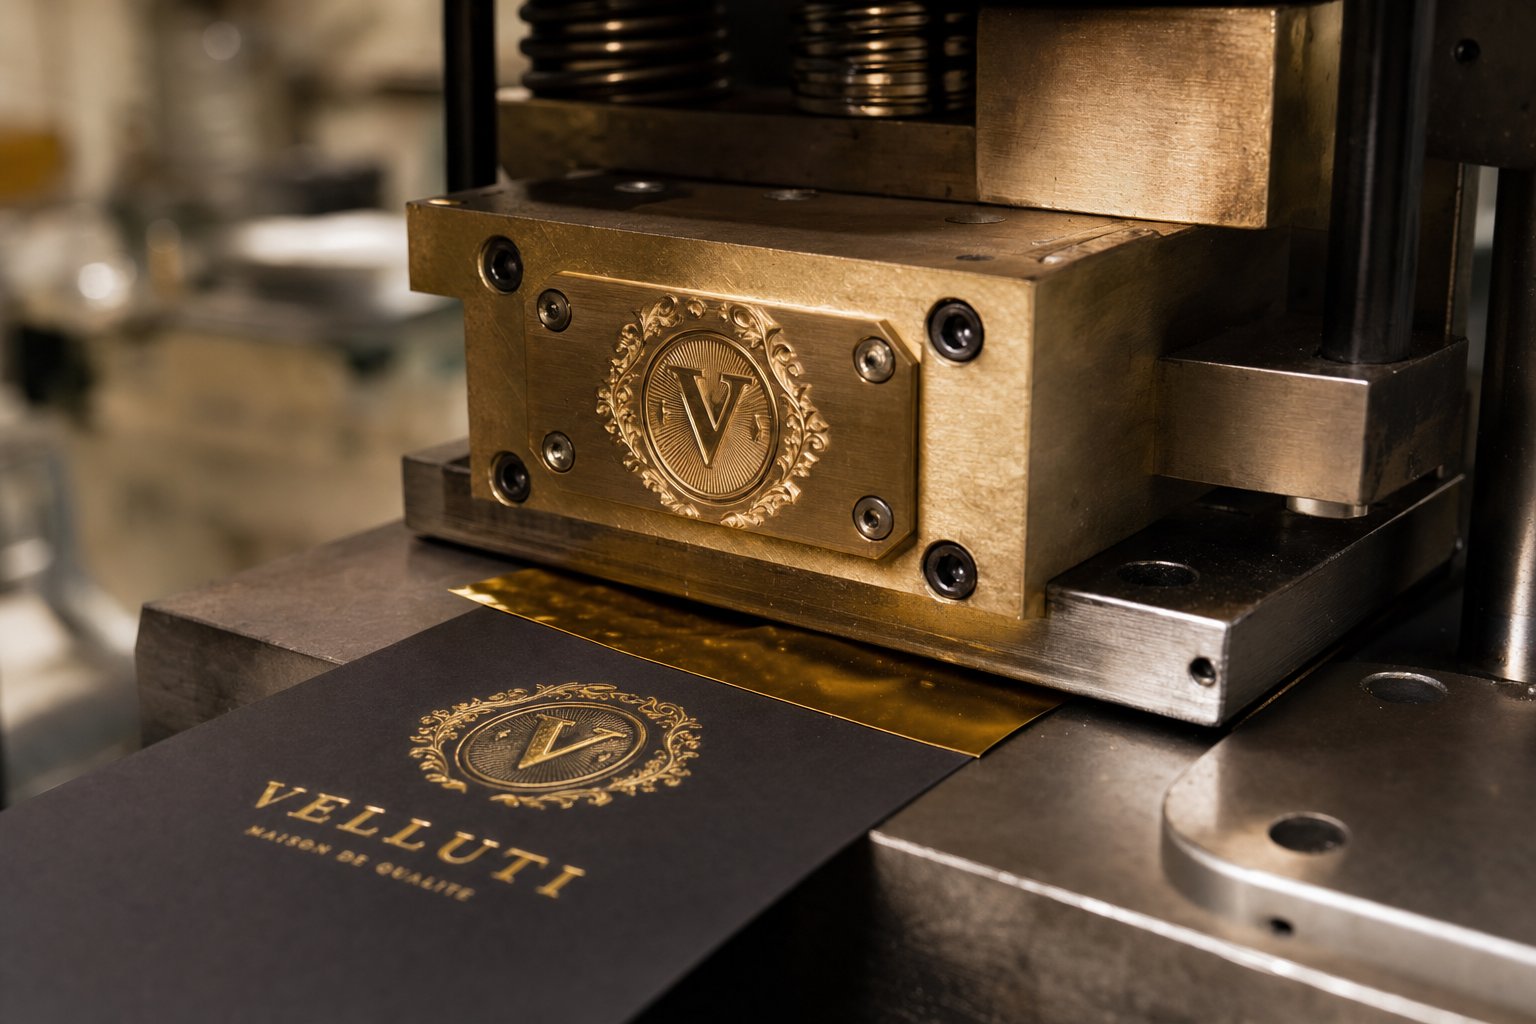
What Custom Hot Stamping Dies Are and Why They Matter
Imagine picking up a luxury perfume box and running your fingers across a perfectly crisp, metallic gold logo. That finish did not come from ink or paint. It came from a custom hot stamping die pressed against foil under precise heat and pressure. Whether you are branding leather journals, decorating food packaging, or personalizing wedding invitations, the die is the tool that makes the magic repeatable, impression after impression.
A custom hot stamping die is a machined or chemically etched metal plate, crafted to your exact design, that transfers metallic foil or creates raised and recessed impressions on a substrate using controlled heat and pressure.
That definition sounds straightforward, but it hides a lot of decisions. The metal used, the etching method, the level of detail in your artwork, and the substrate you plan to mark all shape which die you actually need. Getting those choices right from the start is what separates sharp, consistent results from wasted material and frustrating trial runs.
What Is a Custom Hot Stamping Die
At its core, a hot stamp die works through a simple mechanism. The die is mounted in a press and heated. A strip of hot stamp foil sits between the heated die face and the product surface. When the press engages, the combination of heat and pressure activates the adhesive layer on the foil, transferring only the raised design area onto the substrate. The relieved portions of the die never contact the foil, so the transferred image comes out clean and precise.
Custom stamping dies differ from stock type sets because they are built around your specific artwork, whether that is a company logo, a decorative border, or intricate lettering. This means the die dimensions, etch depth, and material are all tailored to your application rather than pulled off a shelf. The result is branding consistency you simply cannot achieve with generic tooling.
Most dies are made from copper, brass, or magnesium, though steel and aluminum serve specialty roles. Each material brings trade-offs in durability, heat transfer, detail resolution, and cost. A well-made copper or brass die can withstand over one million impressions with proper care, making customization an investment rather than an expense.
Who Uses Custom Hot Stamping Dies
You might picture a factory floor when you think of hot stamping, but the audience is far broader than that. Three distinct groups rely on these dies, and each brings different priorities to the table:
- Hobbyists and crafters - Working with manual or benchtop presses, they typically need affordable dies for short runs. A magnesium die paired with a foil stamp on a hand press is often enough for personalizing leather goods, greeting cards, or handmade books.
- Small-business stationery and leather-goods makers - Volume is moderate, but brand consistency matters. These buyers need dies that hold fine detail across hundreds or thousands of impressions without degrading. Copper is a common choice here because it balances cost with longevity.
- Light-industrial packaging operations - Speed, repeatability, and durability drive decisions. Brass or steel dies handle high-volume runs on substrates like carton board, labels, and plastics, where the die must perform shift after shift without image damage.
Your position within these segments directly influences which die material, manufacturing method, and supplier make sense for your project. A crafter spending a few hundred dollars on a magnesium die has very different concerns than a packaging manager investing in brass tooling rated for millions of cycles.
Understanding where you fit is the first step. The next critical decision is choosing the right die material, because that single choice affects everything from detail sharpness to long-term cost per impression.
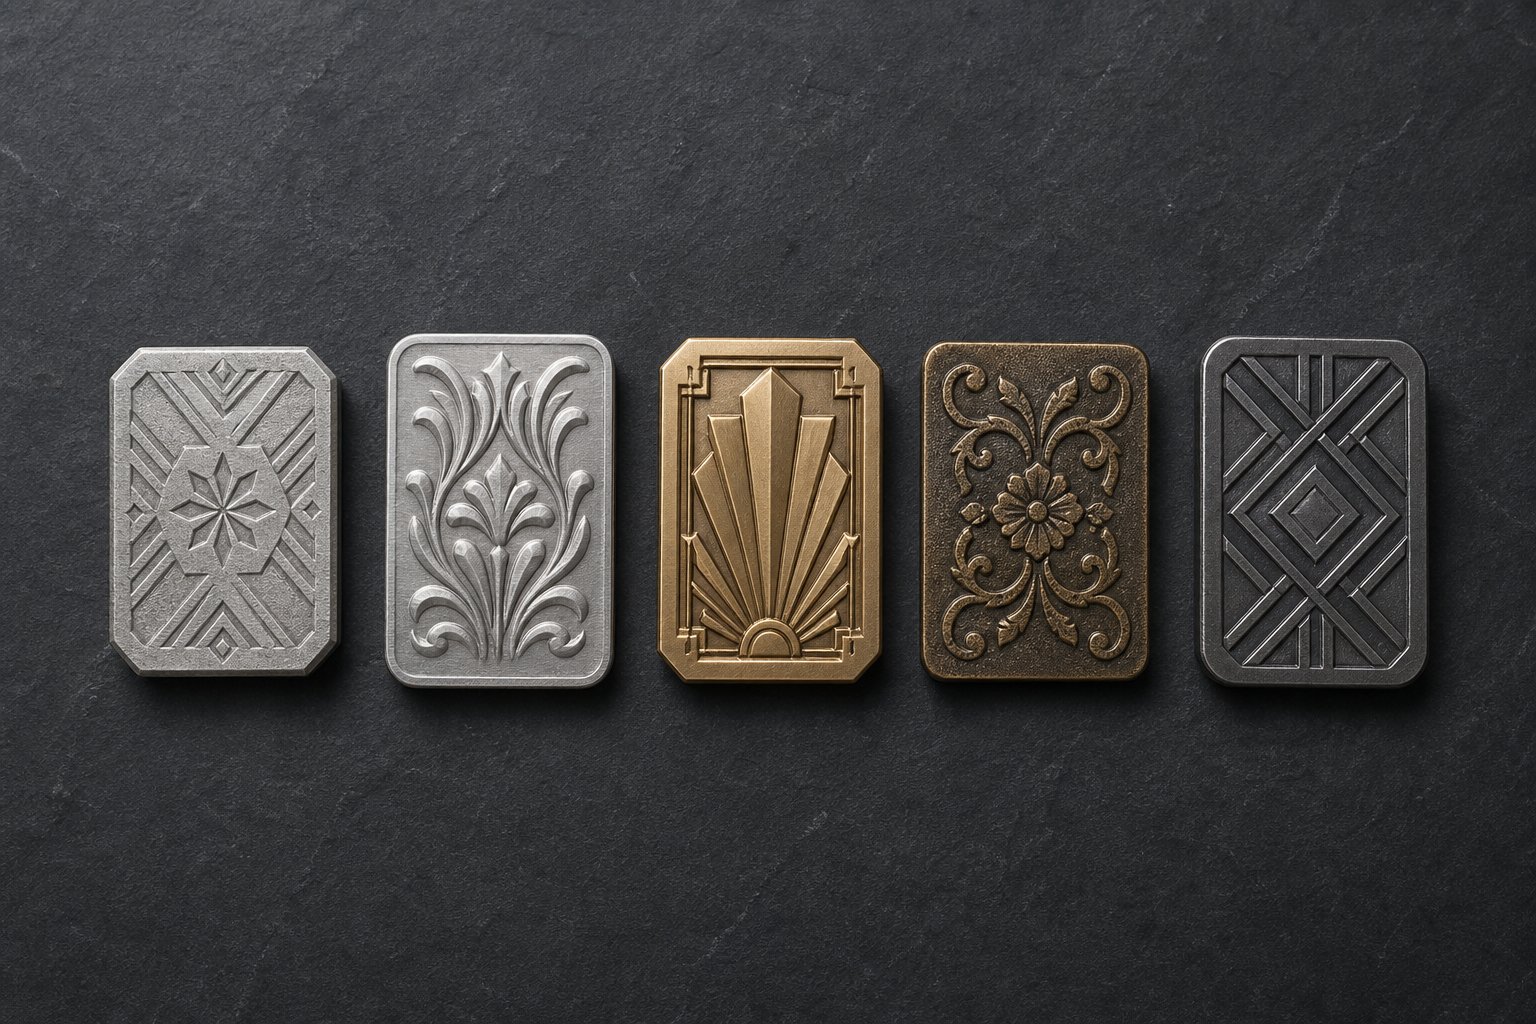
Die Material Comparison from Magnesium to Steel
Die material is not just a line item on a quote. It determines how many impressions you will get before quality degrades, how fine your artwork can be, and how much heat the die transfers to each substrate. Picking the wrong metal means either overspending on durability you do not need or watching your die wear out mid-run. Here is what each option actually delivers.
Magnesium Dies for Short Runs and Fine Detail
When budget matters more than longevity, magnesium is the go-to. It is the most affordable die material and etches cleanly, which means fine-line artwork and small text reproduce well. Magnesium transfers heat effectively and comes in multiple thicknesses, making it adaptable for hot stamping, embossing, debossing, and even letterpress work.
The trade-off? Magnesium is a comparatively soft metal. It does not pit or nick as visibly during short runs, but push it into high-volume territory and you will notice image degradation faster than with copper or brass. Think of magnesium as the right tool for projects under a few thousand impressions, prototyping new designs, or one-off custom stamping dies where replacing the plate is cheaper than investing in harder metals.
Recent production improvements have expanded magnesium's range, making it suitable for nearly all applications except the most intricate multi-level designs or extreme-duration runs. Paired with a custom moulded embossing counter, a magnesium die can still deliver sharp impressions while protecting the die face from premature wear.
Copper and Brass Dies for Medium to High Volume
If your run length climbs into the tens of thousands or you need razor-sharp detail that holds up impression after impression, copper and brass enter the conversation.
A copper stamping die is photoetched and excels at recuperating heat, which translates to consistent foil transfer across long press runs. Copper's exceptional hardness means it resists pitting and nicking far better than magnesium. It handles a wide variety of substrates, from coated paper to plastics, and is a strong choice for custom metal stamping dies where detail and durability must coexist. According to Universal Engraving, properly maintained copper dies can last over one million impressions.
Brass takes things a step further. Known for outstanding workability, strength, and heat retention, brass can be engraved to the tightest tolerances. It is the preferred material for multi-level combination dies that foil stamp and emboss in a single pass. Brass dies are often chosen for premium packaging where realistic depth, intricate textures, and long-term consistency justify the higher upfront cost. Like copper, brass dies rated for over a million impressions are standard from reputable manufacturers.
Sounds like copper and brass overlap? They do, but here is a useful rule of thumb. Choose copper when you need fine detail on flat stamping applications at a slightly lower price point. Choose brass when the job calls for engraved depth effects, multi-level tooling, or the absolute longest service life.
Steel and Aluminum Dies for Specialty Applications
Steel sits at the extreme end of durability. For operations running millions of impressions on abrasive substrates, steel dies resist wear that would eventually compromise even brass. The cost and lead time are significantly higher, so steel makes sense only when volume and substrate demands justify the investment.
Aluminum stamping dies occupy the opposite niche. Lightweight and less expensive, aluminum works in low-heat scenarios or applications where die weight is a constraint, such as certain rotary setups or portable presses. Aluminum does not retain heat as aggressively as copper or brass, which can be an advantage on heat-sensitive substrates like thin plastics. However, its softness limits both detail resolution and lifespan compared to harder metals.
| Material | Ideal Production Volume | Detail Capability | Relative Cost | Substrate Suitability |
|---|---|---|---|---|
| Magnesium | Short runs (under 5,000) | Fine line work, small text | Lowest | Paper, card stock, leather, some plastics |
| Copper | Medium to high (5,000 - 1,000,000+) | Excellent fine detail, resists pitting | Moderate | Paper, cartons, labels, plastics, vinyl |
| Brass | High to very high (50,000 - 1,000,000+) | Superior engraved depth, multi-level designs | Higher | Premium packaging, cartons, labels, leather |
| Steel | Extreme volume (millions) | Good, limited by machining method | Highest | Abrasive substrates, industrial packaging |
| Aluminum | Short runs, low-heat applications | Moderate, limited by softness | Low to moderate | Thin plastics, heat-sensitive films |
Each row in that table represents a real trade-off between cost, longevity, and capability. A crafter running fifty leather bookmarks does not need brass. A cosmetics brand stamping half a million boxes per quarter does not want magnesium. Match the material to your actual production reality, and the die pays for itself quickly.
Material choice locks in your cost and lifespan, but it does not tell the whole story. The physical form of the die, whether flat, cylindrical, or multi-level, determines how it integrates with your press and what finishing effects you can achieve in a single pass.
Types of Hot Stamping Dies and When to Use Each
A copper die and a brass die can both produce stunning foil impressions, but mount them in the wrong format and your production line grinds to a halt. Die material determines longevity. Die type determines how the tool physically interacts with your press, your substrate feed method, and the finishing effects you can pull off in a single cycle. Three primary hot stamp types cover nearly every application, from hand-fed letterpress work to high-speed packaging lines.
Flat Dies for Standard Press Applications
Flat dies are the most common configuration, and for good reason. Picture a rectangular metal plate, etched or engraved with your design, mounted directly to a heated platen. The press closes vertically, the die contacts the foil and substrate, and the impression transfers in one clean stroke.
This hot stamping tool format suits sheet-fed presses, clamshell presses, and manual hand presses alike. If you are stamping individual sheets of paper, card stock panels, book covers, or leather pieces that you load one at a time, a flat die is almost certainly your starting point. The construction is straightforward: the die plate is secured to a chase or magnetic base on the platen, and registration guides position each substrate in the same spot for consistent placement across your entire run.
Flat dies also work within narrow web flatbed stations, where a continuous web of material pauses momentarily while the die presses down. This hybrid approach gives you the precision of flat tooling with slightly higher throughput than pure sheet-fed work. For most small-business and mid-volume operations, flat foil stamping dies handle everything from simple single-color logos to detailed multi-line text without requiring specialized press equipment.
Roller Dies and Rotary Embossing for Continuous Production
When your substrate runs as a continuous web rather than individual sheets, flat dies become a bottleneck. Every impression requires the web to stop, the die to press, and the web to advance again. Rotary dies eliminate that pause entirely.
A roller die is a cylindrical tool, either a solid engraved cylinder or a flexible die plate wrapped around a mandrel. As the web feeds through the press, the cylinder rotates in sync with the material speed, applying heat and pressure continuously. There is no start-stop cycle, which means dramatically higher output per hour. Packaging lines stamping labels, flexible films, or carton wraps at scale rely on this format almost exclusively.
Rotary embossing takes the concept further by adding dimensional relief to the continuous process. Instead of just transferring foil, the cylindrical die presses texture or raised patterns into the substrate as it passes. This is common on high-volume cosmetics packaging, beverage labels, and gift wrap where tactile effects add perceived value without slowing the line.
The trade-off with rotary tooling is cost and complexity. Cylindrical dies require precise diameter calculations matched to the repeat length of your design, and they demand tighter manufacturing tolerances than flat plates. You will also need a press equipped with rotary stations. For runs in the hundreds of thousands or millions, though, the per-unit cost advantage is significant.
Combination and Multi-Level Dies
What if you want both a metallic foil finish and a sculpted, three-dimensional embossed effect, but you do not want to run the substrate through two separate passes? Combination dies solve that problem by integrating foil transfer and embossing relief into a single tool.
These multi-level dies are typically engraved from brass, which offers the workability needed to cut multiple depth levels into one plate. The highest points of the die transfer foil, while deeper sculptured areas press the substrate into a counter die beneath, creating raised or recessed topography. The result is a finished piece that catches light with metallic brilliance and invites touch with dimensional texture, all produced in one press cycle.
Combination tooling reduces setup time, eliminates registration issues between separate foil and emboss passes, and cuts per-piece production cost on medium to high volume runs. The initial die investment is higher than a standard flat plate, but the downstream savings and quality gains usually justify it for premium branding applications.
Not sure which type fits your project? Here is a quick decision framework:
- Choose a flat die when you feed individual sheets or pieces, run on a hand press or sheet-fed machine, and need straightforward foil transfer or single-level embossing dies for moderate volumes.
- Choose a roller die when your substrate is web-fed, your production speed demands continuous operation, and your design has a fixed repeat length suited to rotary tooling.
- Choose a combination die when your finished product requires both foil and dimensional relief, you want to eliminate a second pass, and your volume justifies the higher tooling cost of multi-level engraving.
Selecting the right die type locks in your press compatibility and production speed ceiling. But even the perfect die format will underperform if your artwork file is not prepared correctly for the chosen manufacturing method. The path from a design file on your screen to a finished die in your hands involves specific file requirements, machining decisions, and proofing steps that deserve their own careful walkthrough.
The Custom Die Design-to-Production Workflow
Your artwork looks great on screen. But a digital file and a finished hot stamp tooling piece are separated by a series of decisions that directly affect quality, cost, and lead time. Most suppliers fragment this information across multiple pages or bury it in email exchanges after you have already placed an order. Here is the complete sequence in one place so you know exactly what to expect before you commit.
Artwork Preparation and File Requirements
Every custom die starts with vector artwork. Formats like AI, EPS, or high-resolution PDF with outlined fonts give the die maker clean, scalable geometry to work from. Raster images, screenshots, or low-resolution JPEGs will not cut it because the manufacturing process needs mathematically precise paths rather than pixel grids.
Beyond file format, your design needs to respect the physical realities of stamping. Experienced die manufacturers emphasize that original vector artwork should have a resolution of at least 600 dpi with crisp lines and clearly defined characters. Minimum line weight matters because thin strokes and tight spacing between characters can fill in or squish under the intense pressure of hot stamping. Letters with enclosed counters, like a, e, R, B, and D, are especially vulnerable.
Artwork complexity also drives cost. Simple single-level logos require less etch depth and straightforward tooling. Multi-level designs with sculpted relief, varying depths, or fine halftone screens demand more machining time and tighter tolerances, which increases both price and production time for the finished printing dies.
Manufacturing Methods and Lead Times
Three primary methods turn your approved artwork into a physical die, and each pairs best with specific materials and detail requirements:
- Chemical etching (photo-etching) - An acid-based process that removes metal around your design, leaving the raised relief. This is the most cost-effective method and works well for magnesium and copper dies with single-level artwork. It handles fine detail cleanly but is limited to one relief height per pass.
- CNC machining (engraving) - A computer-controlled cutter carves the design directly into brass or steel. CNC engraving enables multiple relief levels, vertical sidewalls, and complex contours that chemical etching cannot achieve. It produces highly repeatable results from die to die, making it ideal for precision hot stamping cliche production and multi-level combination tooling.
- Laser engraving - Best suited for fine detail on smaller dies or marking applications where shallow depth is acceptable. Laser offers speed advantages for simple artwork but cannot match the depth capability of CNC for sculpted embossing dies.
Lead times vary by method and complexity. A straightforward photo-etched magnesium die might ship within three to five business days. A CNC-engraved brass combination die with multiple relief levels can take two to three weeks depending on the manufacturer's queue and proofing requirements.
Proofing, Approval, and Delivery
Reputable suppliers do not ship a die without confirming it meets your expectations. The proofing stage typically includes a digital proof showing the die layout, dimensions, and any relief specifications. For complex or high-value tooling, some manufacturers perform test strikes on sample substrates so you can evaluate actual foil transfer and impression depth before approving full production.
This is your last checkpoint. Catching a spacing issue or a reversed element at the proof stage costs almost nothing. Catching it after the die is hardened and shipped means starting over.
Here is the full sequence from start to finish:
- Submit vector artwork in AI, EPS, or outlined PDF format with all design specifications noted.
- Supplier reviews artwork for stampability, flagging line weight issues, spacing risks, or complexity concerns.
- Confirm die material, relief depth, and manufacturing method based on your volume and substrate needs.
- Receive a digital proof or engineering drawing for layout approval.
- Die is manufactured via chemical etching, CNC machining, or laser engraving.
- Test strikes are performed on sample material (for complex or premium dies).
- Final approval, finishing, and shipment of the completed die with mounting specifications.
Each step builds on the previous one, which is why getting your artwork right at the front end saves the most time and money downstream. A clean file with proper line weights and realistic detail expectations can shave days off your turnaround and eliminate costly revision cycles.
With the die in hand, the next challenge becomes dialing in the right temperature, pressure, and dwell time for your specific substrate, because a perfectly made die still needs the correct parameters to produce a flawless impression.
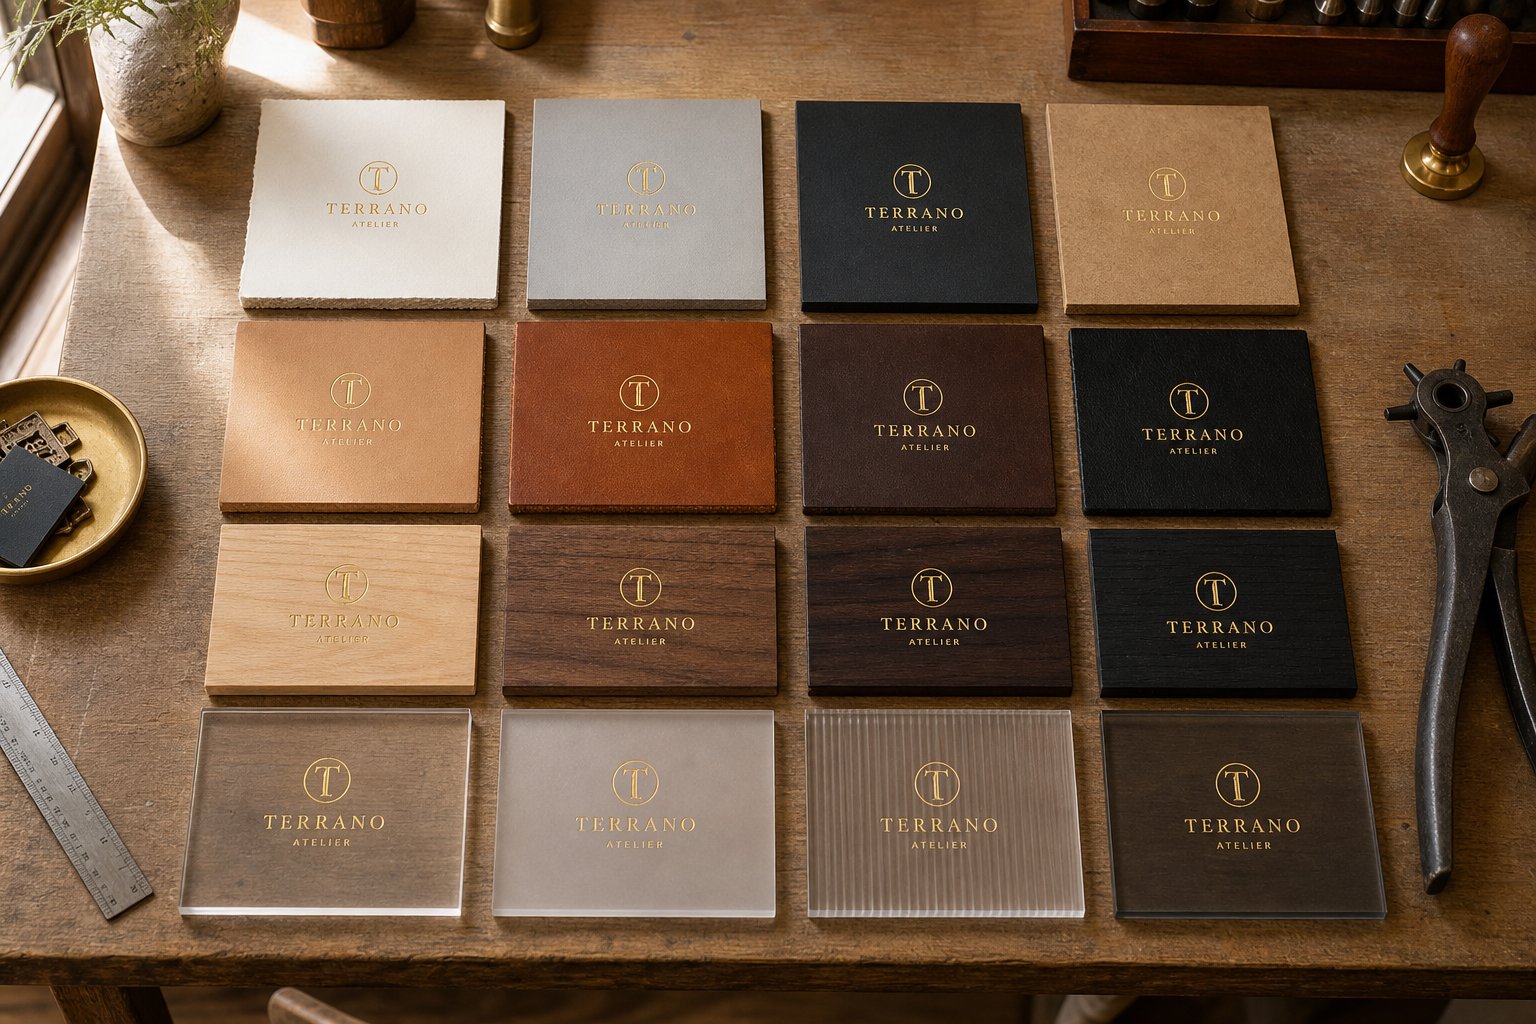
Substrate-Specific Temperature and Pressure Guidelines
You have the right die material. You have picked the correct die type for your press. But none of that matters if you heat stamp your substrate at the wrong temperature or apply too much pressure. The same brass die that produces flawless foil on coated card stock can scorch leather or warp plastic film if you do not adjust your parameters. Each substrate has its own sweet spot, a combination of temperature, pressure, and dwell time that unlocks clean, durable results.
Think of it as the "Golden Triangle" of hot stamping. Get all three sides right, and the foil releases cleanly on the first pass. Get even one wrong, and you are troubleshooting adhesion failures, substrate damage, or patchy coverage.
Paper and Card Stock Settings
Paper is the most forgiving substrate for stamping hot, but that forgiveness has limits. The goal is activating the foil adhesive without crushing fibers or scorching the surface. Lighter paper stocks like 80 gsm copy paper are generally too thin for reliable results and tend to wrinkle under any real pressure. Standard cardboard at 180 gsm and above is where consistent quality begins.
For card stock and packaging board, industry process data recommends a temperature window of 130 to 150 degrees Celsius, moderate pressure in the range of 200 to 300 kg per square centimeter, and a short dwell time of 0.5 to 1.0 seconds. Coated art paper with glossy finishes needs slightly higher parameters, around 140 to 160 degrees Celsius, because the coating layer creates an additional barrier between the foil adhesive and the paper fibers.
Key rules for paper: keep dwell times short to avoid crush-through, use light to moderate pressure, and test on scrap sheets before committing to a production run. Even small temperature fluctuations of 10 degrees can shift your results from crisp to smudged.
Leather and Wood Stamping Parameters
Leather and wood behave differently than paper because they absorb heat rather than simply conducting it. You need higher temperatures, longer dwell times, and often multiple light presses rather than one heavy strike.
For vegetable-tanned leather, a hot press stamp setting between 120 and 140 degrees Celsius works well, with pressure around 200 to 300 kg per square centimeter and a dwell time of 1.0 to 2.0 seconds. Thicker hides may need the upper end of that dwell range to ensure full foil transfer into the grain texture. One critical factor that many beginners overlook: leather moisture content. Technical guidelines specify that leather must be dry with moisture content below 14 percent before stamping. If the surface has been treated with oil or wax, those coatings need to be removed first, or the foil simply will not bond.
Wood follows a similar pattern. Smooth painted or sealed wood surfaces respond well at 140 to 160 degrees Celsius with moderate pressure and short dwell times. Natural wood with pronounced grain is more challenging. The uneven surface means some areas receive full pressure while others do not, often requiring multiple passes for acceptable coverage.
Plastics and Synthetics
Plastics are where the margin for error shrinks dramatically. Every heat stamp on plastic sits inside a narrow temperature window. Too low and the foil will not adhere. Too high and the substrate warps, melts, or develops surface distortion that ruins the finished product.
Hard PVC, one of the easier plastics to stamp, works at 120 to 130 degrees Celsius with relatively light pressure of 150 to 200 kg per square centimeter. PET film requires even lower heat, around 110 to 130 degrees Celsius, and minimal dwell of 0.3 to 0.8 seconds. The real trouble starts with low surface energy plastics like PP and PE. These materials will not hold foil reliably unless they receive corona or flame treatment beforehand to raise surface energy above 38 dyne per centimeter. Skipping that step is the number one cause of foil peeling weeks after production.
Matching foil chemistry to the specific plastic type matters as much as temperature. A foil formulated for PVC will behave unpredictably on ABS or acrylic. Always confirm your foil supplier's substrate compatibility chart before running production quantities.
| Substrate Type | Temperature Range (°C) | Pressure (kg/cm²) | Dwell Time (seconds) |
|---|---|---|---|
| Standard Cardboard (180g+) | 130 - 150 | 200 - 300 | 0.5 - 1.0 |
| Coated Art Paper | 140 - 160 | 250 - 350 | 0.8 - 1.2 |
| Vegetable-Tanned Leather | 120 - 140 | 200 - 300 | 1.0 - 2.0 |
| PU Synthetic Leather | 110 - 130 | 150 - 200 | 0.5 - 1.0 |
| Painted/Sealed Wood | 140 - 160 | 200 - 300 | 0.5 - 1.0 |
| PVC (Hard) | 120 - 130 | 150 - 200 | 0.5 - 1.0 |
| PET Film | 110 - 130 | 100 - 150 | 0.3 - 0.8 |
| PP (Corona Treated) | 100 - 120 | 100 - 150 | 0.5 - 1.0 |
These values represent starting reference points derived from decades of industrial process data. Begin sampling at the median of each range, then adjust in small increments: 10 degrees Celsius, 50 kg pressure, or 0.2 seconds of dwell time per adjustment. The same die and foil combination can require parameter shifts of up to 30 percent across different substrates, so never assume settings that worked on card stock will transfer directly to leather or plastic.
Dialing in these parameters is part science, part hands-on experimentation. But when impressions still come out uneven despite correct settings, or when foil refuses to adhere no matter what you try, the issue often lives somewhere else entirely: in the die mounting, the makeready, or the equipment itself. Recognizing those symptoms quickly saves hours of chasing the wrong variable.
Essential Die Terminology Every Buyer Should Know
Ever read a die manufacturer's spec sheet and feel like you need a translator? Terms like "relief," "bevel," and "type height" get tossed around in quotes and technical drawings as if everyone already knows what they mean. The reality is that most first-time buyers do not, and that knowledge gap creates miscommunication, incorrect orders, and wasted money. Learning a handful of core terms puts you on equal footing with your supplier and helps you ask the right questions before production begins.
Key Die Anatomy Terms Explained
When you look at a cross-section of any custom hot stamping die, you will see distinct zones that each serve a mechanical purpose. Here is what those zones are actually called and what they do:
- Relief - The raised portion of the die where your artwork sits. This is the only area that contacts the foil and substrate during stamping. Industry standards typically place fine or small characters at a 0.035-inch relief, larger graphic elements at 0.065 inches, and consistently bold artwork at a deeper 0.120-inch relief. The height you choose affects both foil transfer precision and the die's ability to withstand repeated pressure cycles.
- Shoulder - The angled transition between the relief surface and the recessed background of the die. A well-formed shoulder supports the raised artwork from the sides, preventing breakage under stamping pressure. Think of it as the structural foundation that keeps fine details from snapping off during long runs.
- Bevel - The tapered edge around the perimeter of the design area. Bevels allow clean foil separation at the boundary of your image. Without proper beveling, foil can tear or feather beyond the intended design edge, leaving fuzzy outlines instead of crisp borders.
- Etch depth - The measurement from the top of the relief surface down to the lowest recessed area. Deeper etching provides more clearance between the printing surface and non-printing background, which prevents unwanted foil contact in areas that should remain blank. Shallow etch depths risk "filling in" on detailed artwork.
- Type height - The overall thickness of the die from its base to the top of the relief. This measurement determines how the die mounts in your press and whether it will reach the substrate at the correct stamping plane. Standard type heights vary by press manufacturer, so always confirm this spec before ordering.
Etch depth directly controls stamping quality and foil adhesion. Too shallow, and background areas pick up unwanted foil. Too deep, and fine characters lose structural support and break down under pressure.
You will notice that these terms are interconnected. Relief height influences how much etch depth you need. Shoulder angle affects how well fine details survive high-pressure runs. Bevel quality determines edge crispness. When you can speak this language with your supplier, you move from passively accepting whatever arrives to actively specifying the die geometry your project demands.
Embossing vs. Debossing vs. Foil Stamping
These three terms cause more confusion among first-time buyers than any other topic in die ordering. They sound similar, they often use the same equipment, and they can even be combined in one press stroke. But they produce distinctly different results on your finished product.
Embossing uses a matched set of male and female dies (or a die and counter) to push the substrate upward from behind, creating a raised, three-dimensional effect on the surface. An embossing die creates tactile texture you can feel with your fingertips. No foil is involved in a blind emboss. The visual impact comes entirely from light catching the raised contours. This technique works best with simple, bold designs on substrates that have enough flexibility to stretch without tearing, like heavy card stock or leather.
Debossing is the inverse. A debossing die presses the design downward into the substrate surface, creating a recessed impression. Only a single die is needed since the substrate itself deforms into the cavity. Debossing is popular on leather goods, hardcover books, and thick paper stocks where the indented texture conveys an understated, premium feel.
Foil stamping transfers a thin layer of metallic, pigmented, or holographic foil onto the substrate surface using heat and pressure. The substrate stays flat. The visual effect comes from the foil material itself rather than any dimensional change. Foil stamping adds color, reflectivity, and contrast without altering the physical shape of your product.
Here is where it gets interesting: embossing and foil stamping are frequently combined in a single operation using multi-level combination dies. The die simultaneously transfers foil to the raised areas while pressing dimensional relief into the substrate. This registered combination approach delivers both visual brilliance and tactile depth in one pass, eliminating the alignment challenges of running two separate operations.
Knowing which effect you actually want before contacting a supplier saves revision cycles and prevents the common mistake of ordering an embossing die when you needed a flat foil plate, or vice versa. Be specific in your request: say "blind deboss" if you want a recessed impression with no foil, "foil stamp only" if you want a flat metallic transfer, or "registered foil and emboss" if you want the combined effect.
Fluency in these terms does more than make you sound knowledgeable on a phone call. It directly reduces the chance of miscommunication that leads to an unusable die showing up at your door. And when something does go wrong during a production run, the same vocabulary becomes essential for diagnosing the problem, describing it accurately to your supplier, and identifying the correct fix without burning through trial-and-error cycles.
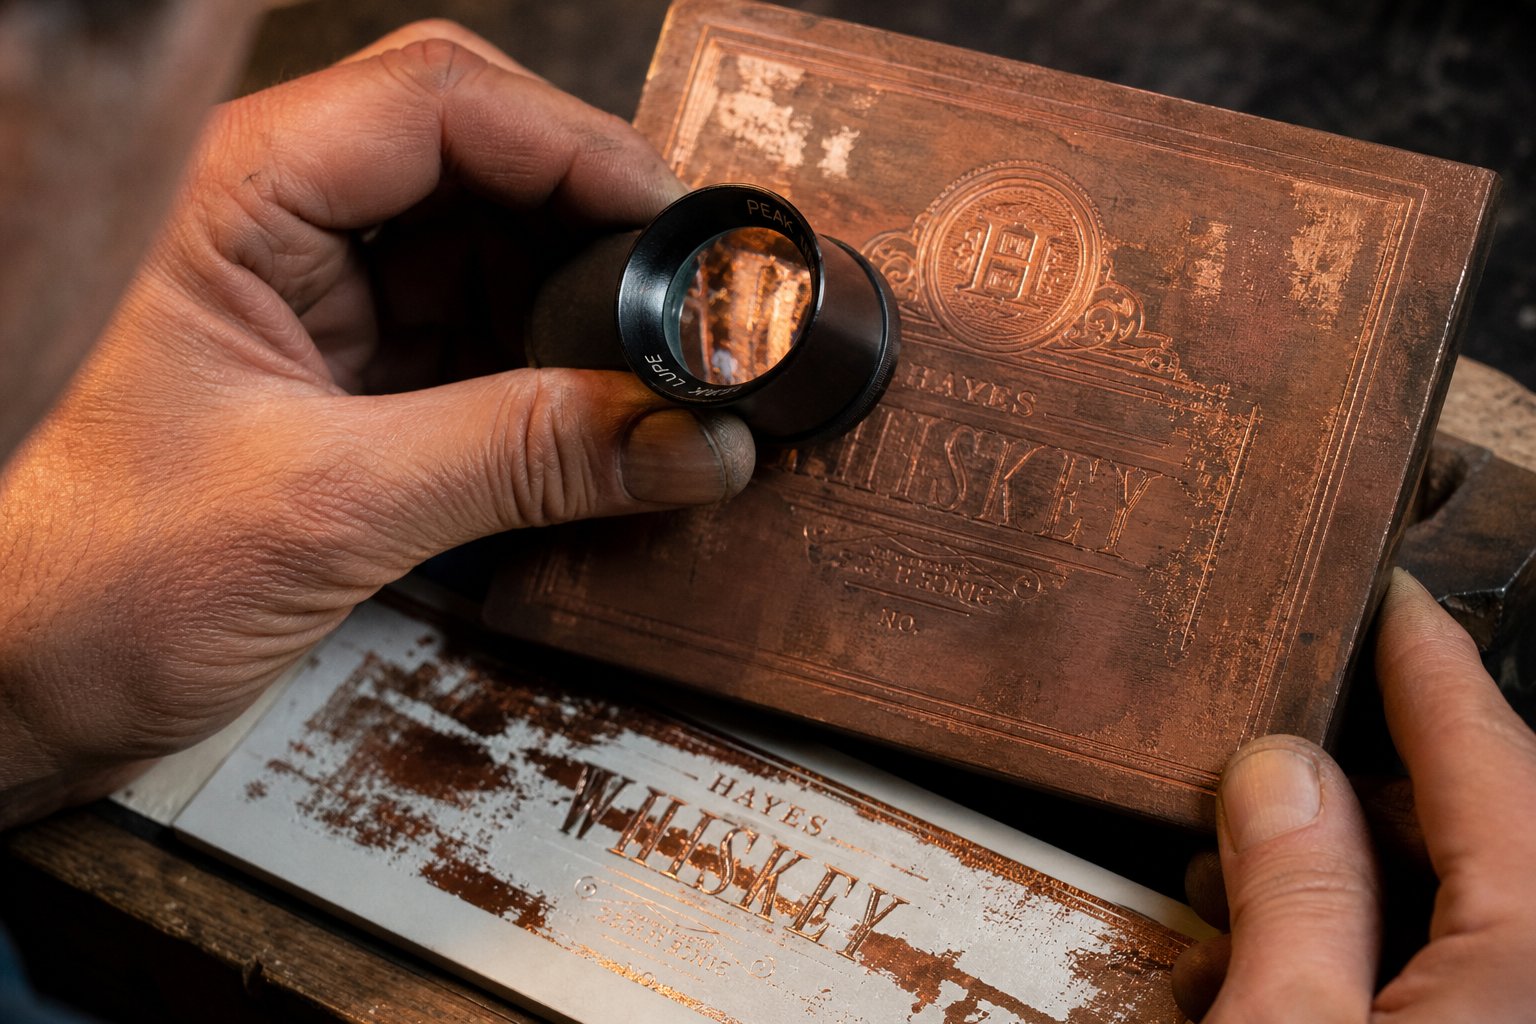
Troubleshooting Common Hot Stamping Die Problems
You have your terminology down and your parameters dialed in. So why does the third impression look perfect while the seventh looks patchy? Hot stamp printing issues rarely announce themselves with obvious causes. A foil adhesion failure might look like a temperature problem when it is actually a substrate chemistry mismatch. An uneven impression might seem like a die defect when worn makeready is the real culprit. Knowing how to read the symptoms and trace them back to root causes is what separates productive operators from those stuck in endless trial-and-error loops.
Here is a practical framework for diagnosing and fixing the most common issues that arise with custom hot stamping dies in real production.
Uneven Impressions and Pressure Distribution Problems
Imagine stamping a full logo and noticing that the left side transfers cleanly while the right side looks faint or incomplete. That inconsistency almost always traces back to pressure, not temperature. The die face needs to contact the foil and substrate with uniform force across its entire surface. When that force varies from one zone to another, some areas bond perfectly while others barely transfer at all.
Common causes include:
- Worn or compressed makeready - The packing sheets between the platen and die compress over time, creating low spots that reduce pressure in specific areas. Replacing makeready material restores even contact.
- Warped or uneven platens - Heat cycling can gradually warp press platens, especially on older equipment. A precision straightedge and feeler gauge will reveal high and low spots that need machining or shimming.
- Incorrect die mounting - If the die shifts during a run or is not seated flat against its mounting surface, pressure distribution becomes unpredictable. Secure clamping and verified registration before each run prevent this. As SBL Machinery notes, mold installation that does not align with reference points will cause systematic misalignment and uneven transfer.
- Mixed large and small design areas on one die - A die with both a large solid block and fine text will naturally require different pressure across zones. Padding techniques using tissue or thin card stock behind specific areas of the makeready can equalize the force.
The fix always starts with isolating whether the issue is positional. If the faint area stays in the same spot regardless of which substrate sheet you feed, the problem lives in the press setup. If it moves around, look at substrate thickness variation or inconsistent foil tension instead.
Foil Adhesion Failures and Temperature Issues
Foil that peels off after stamping, refuses to transfer completely, or bubbles on the surface points to a breakdown in the heat-pressure-chemistry relationship. This is the most frustrating category because multiple variables interact simultaneously.
Cold spots on the die face are a frequent offender. If your heating element has degraded or the die has uneven mass distribution, certain zones never reach activation temperature for the foil adhesive. The result is a hot foil stamp that looks complete immediately after pressing but fails a scratch or tape-pull test in the undertreated areas. Checking surface temperature across the die face with an infrared thermometer reveals these inconsistencies quickly.
Insufficient dwell time produces similar symptoms. The foil contacts the substrate long enough to appear transferred but not long enough for the adhesive layer to fully activate and bond. This is especially common on porous substrates like uncoated paper or textured leather, where the adhesive needs extra time to flow into surface irregularities. Industry troubleshooting guides confirm that when the dwell time falls short of what the electrochemical aluminum foil requires, incomplete transfer and bottom exposure result.
Then there is the foil-substrate mismatch problem. Custom hot stamping foil is not universal. Different formulations are engineered for specific substrate chemistries. A foil designed for coated paper will not bond reliably to polypropylene, no matter how perfectly you dial your temperature and pressure. Always verify that your foil supplier rates their product for your exact substrate type. When in doubt, request a sample roll and run test strikes before committing to production quantities.
Foil tearing during transfer, where you see ragged edges or incomplete pattern boundaries, usually indicates excessive temperature or pressure. The foil overheats, loses structural integrity, and fragments instead of releasing cleanly from its carrier. Reducing temperature by 10 to 15 degrees Celsius and lightening pressure slightly will typically resolve tearing without sacrificing adhesion quality.
Die Damage and Premature Wear
A well-made die should last thousands to millions of impressions depending on its material. When it degrades prematurely, something in your process is actively destroying it. Three root causes account for the vast majority of early die failure:
- Over-heating - Running the die above its optimal temperature range does not just damage foil. It can anneal softer metals like magnesium, reducing surface hardness and accelerating wear on fine details. Prolonged idling with the die at full temperature and no substrate contact is particularly harmful since localized heat builds without the cooling effect of each press cycle.
- Abrasive substrates - Uncoated recycled board, heavily textured papers, and certain wood surfaces contain particles that act like fine sandpaper against the die face. Over tens of thousands of impressions, these micro-abrasions round off sharp edges and reduce detail fidelity. Switching to a harder die material or applying a protective surface treatment extends life on abrasive stocks.
- Improper cleaning - Residue buildup from foil adhesive, paper dust, and substrate coatings clogs fine details over time. Aggressive cleaning with metal scrapers or harsh solvents damages the relief surface. Soft brass brushes and manufacturer-recommended solvents preserve die geometry while removing buildup effectively.
If you notice that hot foil stamped results degrade gradually over weeks rather than failing suddenly, premature wear is almost certainly the cause. Inspect the die face under magnification periodically, especially around fine text and tight curves where wear shows first.
The table below consolidates these symptoms into a quick-reference diagnostic tool you can keep near your press:
| Symptom | Likely Cause | Recommended Fix |
|---|---|---|
| Faint or missing areas in consistent positions | Worn makeready or warped platen | Replace packing material; check platen flatness with straightedge |
| Patchy transfer across entire image | Insufficient pressure or temperature too low | Increase pressure incrementally; verify thermostat accuracy |
| Foil peels off after stamping (fails tape test) | Cold spots on die, insufficient dwell time, or foil-substrate mismatch | Check die surface temp uniformity; extend dwell by 0.2s increments; confirm foil compatibility |
| Foil bleeds or smudges beyond design borders | Excessive temperature or dwell time | Reduce temperature by 10-15°C; shorten dwell time; inspect die bevel condition |
| Foil tears or fragments during transfer | Overheating or excessive pressure | Lower temperature and pressure; check foil tension on supply roll |
| Bubbling or blistering on stamped surface | High moisture in substrate or unstable foil quality | Pre-dry substrate below 8% moisture; test foil batch integrity |
| Gradual loss of fine detail over production run | Die wear from abrasive substrate or over-heating | Inspect die under magnification; reduce temperature; consider harder die material |
| Die surface buildup causing filled-in details | Foil adhesive residue and substrate dust accumulation | Clean with soft brass brush and approved solvent; increase cleaning frequency |
Keep in mind that most stamping failures involve more than one variable drifting out of spec simultaneously. A die running slightly too hot on a substrate with marginal moisture content might perform fine for the first hundred impressions before adhesion failures cascade. Systematic troubleshooting means changing one variable at a time and running test strikes between adjustments rather than guessing at multiple corrections at once.
Solving problems in the moment keeps production moving, but preventing them from recurring requires a consistent maintenance routine. How you mount, clean, and store your dies between runs determines whether that troubleshooting table becomes a daily reference or a rarely needed backup.
Die Maintenance, Storage, and Longevity Best Practices
A well-made hot stamp tool can outlast the press it runs on, but only if you treat it properly between jobs. Most premature die failures trace back to avoidable neglect: sloppy mounting that introduces stress points, skipped cleaning sessions that let residue harden into fine details, or careless storage that invites corrosion. Protecting your investment takes minimal time per session and pays back in thousands of additional clean impressions.
Proper Mounting and Alignment Techniques
Every production run starts at the mounting stage. If the die is not seated perfectly flat against the heated platen, you are building pressure inconsistencies into every single impression before the first sheet even feeds through.
Secure clamping is the baseline. Toggle hooks, quoins, or magnetic chases should lock the die firmly enough that it cannot creep under repeated stamping force. Beyond that, shimming corrects micro-level unevenness between the die base and the platen surface. Thin packing sheets placed strategically behind low areas equalize contact pressure across the entire design face. Registration guides or positioning calipers then fix the substrate's X-Y position so your stamping tool and die alignment stays consistent from the first piece to the last.
A quick test strike on scrap material before committing to production stock confirms that pressure distribution, temperature uniformity, and image placement are all where they need to be. Skipping this step to save sixty seconds often costs far more in wasted substrate and rework.
Cleaning Routines and Long-Term Storage
Foil adhesive residue, paper dust, and substrate coatings accumulate on the die face during every run. Left unchecked, that buildup fills fine details and degrades impression quality gradually enough that you might not notice until the damage is significant. The right cleaning approach depends on the die material:
- Magnesium dies - Use a Garryflex block or similar gentle abrasive pad to remove residue without scratching the softer etched surface. Avoid metal brushes that can gouge fine relief areas.
- Copper dies - A glass fibre brush removes oxidation and adhesive deposits effectively. The slightly more aggressive bristles suit copper's harder surface and can also smooth minor imperfections that develop over long runs.
- Brass dies - A soft brass-bristle brush cleans without risk of damage, flexing into multi-level engraved sections where residue tends to collect in recessed areas.
Clean your die after every production session, not just when you notice quality degradation. A two-minute wipe-down while the die is still slightly warm (but cool enough to handle safely) prevents residue from hardening into a problem that requires aggressive removal later.
For long-term storage, treat every metal stamping tool and die as a precision instrument vulnerable to environmental damage:
- Apply a thin coat of anti-rust oil or anti-tarnish treatment to all exposed metal surfaces before shelving.
- Store dies in a climate-controlled space with stable humidity below 50 percent to prevent oxidation.
- Place each die in an individual protective sleeve or compartment to avoid surface contact with other tools.
- Store flat dies horizontally on dedicated racks to prevent warping or edge damage from stacking.
- Maintain a maintenance log recording usage hours, cleaning dates, and any observed wear so you can predict replacement timing rather than discovering failures mid-run.
Reputable tooling suppliers typically include die care documentation with each order, specifying the exact cleaning agents, storage conditions, and maintenance intervals appropriate for the material and manufacturing method used. If your supplier does not provide this, that absence tells you something about their attention to post-sale support, which brings up a larger question worth asking before you place your next order: what should you actually look for when choosing who makes your dies?
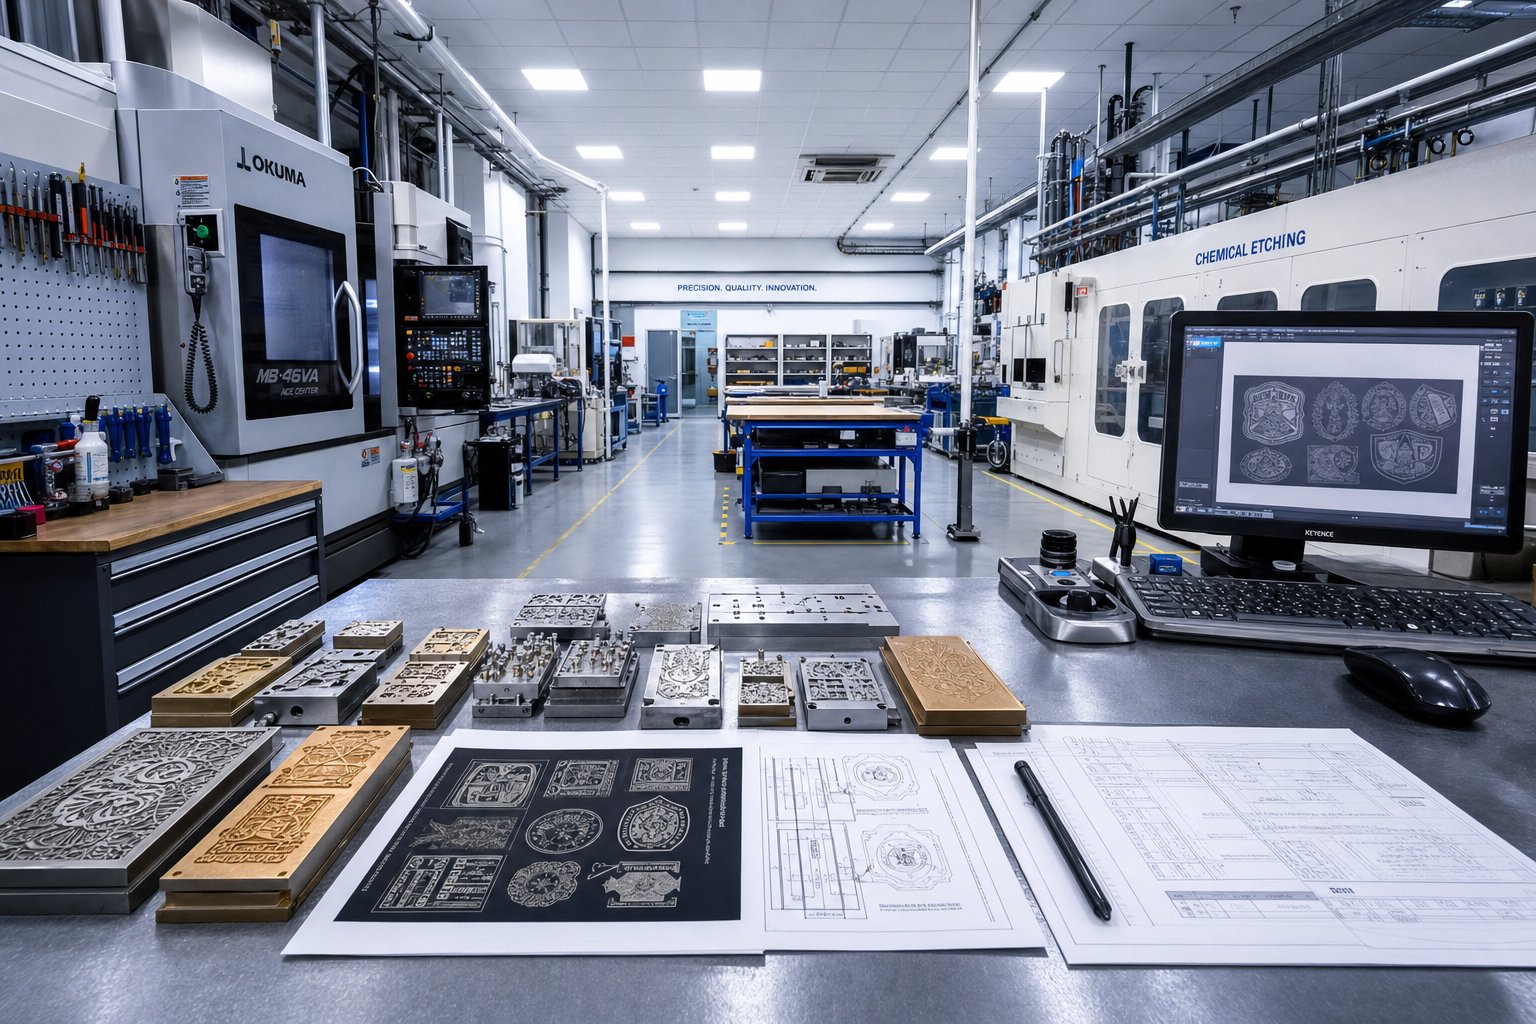
How to Source Reliable Custom Hot Stamping Dies
A die is only as good as the shop that made it. You can specify the perfect material, nail your artwork file, and understand every parameter in your substrate table, but if your supplier cuts corners on machining tolerances, ships without proofing, or ghosts you when questions arise, the entire project suffers. Choosing a hot stamp die maker deserves the same rigor you put into specifying the die itself.
The challenge is that die suppliers range from one-person engraving shops to full-scale industrial tooling manufacturers, and each serves a different buyer profile. A crafter ordering a single magnesium plate has different expectations than a packaging manager sourcing brass combination tooling for a multi-year production contract. The evaluation criteria stay consistent, but their relative weight shifts depending on your scale.
What to Look for in a Custom Die Supplier
Not every shop that advertises custom embossing dies or foil plates can actually deliver what your project requires. Before requesting quotes, screen potential suppliers against these core capabilities:
Engineering depth and material range. A supplier limited to one manufacturing method or one die material will steer you toward what they can produce rather than what your application actually needs. Look for shops that offer chemical etching, CNC engraving, and laser processing across magnesium, copper, brass, and steel. That breadth means they can recommend the right solution based on your artwork, volume, and substrate rather than their equipment limitations.
Lead time transparency. Vague timelines like "a few weeks" signal disorganization. Reliable suppliers quote specific turnaround windows for each manufacturing method and communicate proactively when schedules shift. A good custom metal stamping die supplier will tell you upfront that a photo-etched magnesium plate ships in three to five days while a multi-level brass combination die takes two to three weeks.
Prototype and proof availability. Shops willing to run test strikes on your actual substrate before final approval demonstrate confidence in their work. This step is especially important for custom foil stamping applications where foil-substrate chemistry, etch depth, and temperature all interact. If a supplier resists proofing or charges prohibitively for it, consider whether they are prioritizing speed over your end result.
Communication quality. Can you reach a technical contact who understands die geometry, or are you routed through generic customer service? The best suppliers ask informed questions about your artwork, substrate, press type, and volume before quoting. That dialogue reduces production risk and often reveals design adjustments that save money without sacrificing quality.
Post-sale support and documentation. As discussed in the maintenance section, reputable suppliers include die care instructions, mounting specifications, and recommended parameters with every shipment. This documentation signals a supplier invested in your long-term success rather than a transactional vendor who disappears after invoicing.
For industrial buyers sourcing engineered metal-forming tooling at scale, suppliers like YICHEN provide a useful starting point. Their stamping die catalog covers multiple material options and process types, giving procurement teams a centralized resource for exploring custom letterpress dies, hot stamping tooling, and adjacent die stamping solutions under one roof. That consolidation simplifies vendor qualification when your operation spans several die types and production volumes.
Getting Started with Your Custom Die Order
By this point in the article, you should have clarity on five key decisions that shape your order:
- Material - Magnesium for short runs and budget sensitivity, copper for medium-to-high volume with fine detail, brass for premium multi-level work, or steel for extreme longevity.
- Die type - Flat for sheet-fed and hand-press applications, rotary for continuous web production, or combination for single-pass foil and emboss.
- Substrate - Paper, leather, wood, plastic, or synthetic, each with its own temperature and pressure profile.
- Volume - Your expected production quantity determines material durability requirements and influences per-unit tooling cost.
- Artwork readiness - Vector files in AI, EPS, or outlined PDF with appropriate line weights and relief specifications.
Walking into a quote request with these answers already locked down accomplishes two things. It signals to the supplier that you are a serious buyer who will not waste their engineering team's time, and it gives them everything needed to return an accurate quote without multiple rounds of clarification.
Use the following checklist to vet any supplier before committing:
- Confirm they manufacture dies in your required material and can explain why that material suits your application.
- Verify they support your chosen manufacturing method (etching, CNC, or laser) and have capacity for your timeline.
- Ask for examples or references from projects with similar substrates and production volumes.
- Request a clear written timeline with milestones for artwork review, proof approval, and shipment.
- Confirm their proofing process, including whether test strikes on your substrate are available before final production.
- Evaluate communication responsiveness during the quoting phase, as it reflects what ongoing support will look like.
- Review whether die care documentation, mounting specs, and parameter recommendations are included with delivery.
- Compare total value rather than unit price alone, factoring in die longevity, support quality, and rework risk.
A supplier who checks every box on that list is not just selling you a piece of metal. They are partnering on a tool that directly affects your brand quality, production uptime, and cost per finished piece. The cheapest quote rarely delivers the lowest total cost when you factor in premature wear, rework cycles, and communication headaches.
Custom foil stamping is ultimately a precision manufacturing process disguised as a decorative one. The die, the foil, the substrate, and the press parameters all have to align. Getting that alignment right starts with choosing a supplier who understands the full picture, not just the machining step, and who treats your project as an engineering problem worth solving rather than a commodity order to push through the queue.
Frequently Asked Questions About Custom Hot Stamping Dies
1. How long does a custom hot stamping die last?
Die lifespan depends primarily on the material chosen and how well you maintain it. Magnesium dies typically handle up to 5,000 impressions before noticeable wear. Copper and brass dies, when properly cared for, can exceed one million impressions. Steel dies last even longer under extreme-volume conditions. Factors that shorten lifespan include running above optimal temperature, stamping abrasive substrates without harder tooling, and neglecting regular cleaning. Applying anti-tarnish treatments between jobs and storing dies in climate-controlled conditions below 50 percent humidity helps maximize service life regardless of material.
2. What file format do I need for ordering a custom hot stamping die?
Suppliers require vector artwork in AI, EPS, or high-resolution PDF format with all fonts converted to outlines. Raster files like JPEGs or PNGs lack the mathematical precision needed for etching or engraving. Your artwork should maintain minimum line weights appropriate for stamping, typically no thinner than 0.5pt for foil transfer. Enclosed letterforms such as a, e, R, and B need adequate counter spacing to prevent filling under pressure. Submitting clean vector files with clear design specifications reduces revision cycles and can shave days off your turnaround time.
3. What is the difference between embossing, debossing, and foil stamping?
Embossing pushes the substrate upward using a matched male and female die set, creating a raised three-dimensional surface you can feel. Debossing presses the design downward into the material, leaving a recessed impression using a single die. Foil stamping transfers a thin metallic or pigmented layer onto a flat substrate surface through heat and pressure without altering the material's physical shape. These techniques can be combined in one press stroke using multi-level combination dies, delivering both metallic brilliance and tactile depth simultaneously. Specifying exactly which effect you want when requesting quotes prevents costly miscommunication.
4. Can you hot stamp on plastic without damaging the substrate?
Yes, but plastics require careful parameter control within a narrow temperature window. Hard PVC accepts stamping at 120 to 130 degrees Celsius with light pressure, while PET film needs even lower heat around 110 to 130 degrees Celsius. Low surface energy plastics like PP and PE require corona or flame treatment before stamping to achieve reliable foil adhesion. The foil chemistry must also match the specific plastic type since formulations designed for one polymer may fail on another. Always run test strikes on sample material before committing to production quantities to confirm both adhesion quality and absence of warping.
5. How do I choose between magnesium, copper, and brass for my custom die?
Match the material to your production volume, detail requirements, and budget. Magnesium works best for short runs under 5,000 impressions, prototyping, or budget-sensitive projects where fine line work matters but longevity does not. Copper suits medium to high volume applications requiring excellent detail retention across tens of thousands of impressions at a moderate price point. Brass is the premium choice for multi-level combination dies, sculpted depth effects, and runs exceeding hundreds of thousands of impressions where maximum heat retention and durability justify higher upfront cost. Industrial buyers sourcing engineered tooling at scale can explore multiple material options through suppliers like YICHEN who offer consolidated stamping die catalogs.


